Ruby Development in Windows Revisited
Some time ago I wrote about how I set up my machine so I can program hassle-free in ruby while running Windows. It was more of a reminder to myself than anything, if I ever needed to set things up the same way again.
Fast forward to 2015. When a colleague saw my workstation and realized I was running Windows, he was quite surprised and asked me how I was doing it. I thought of pointing him to my old blog post, but I felt that:
- It was outdated (the setup described was from 2012, written in 2014)
- It was incomplete (it’s just a checklist of what I’ve installed)
I’ve improved on the whole setup since, and I thought it’s time to share the whole updated setup so that anyone else interested can benefit.
The Magic of Virtualization
Pay no attention to that man behind the curtain!
It’s probably a bit misleading to say I do my ruby development exclusively in Windows. It’s not because of the graphical user interface or the hardware support; I think Windows 10 had really been a great improvement over the past Windows versions. Support for peripherals (like graphic cards, multi-monitor setups, or just recently 4k TV/monitors) is simply heaps better than that of Ubuntu.
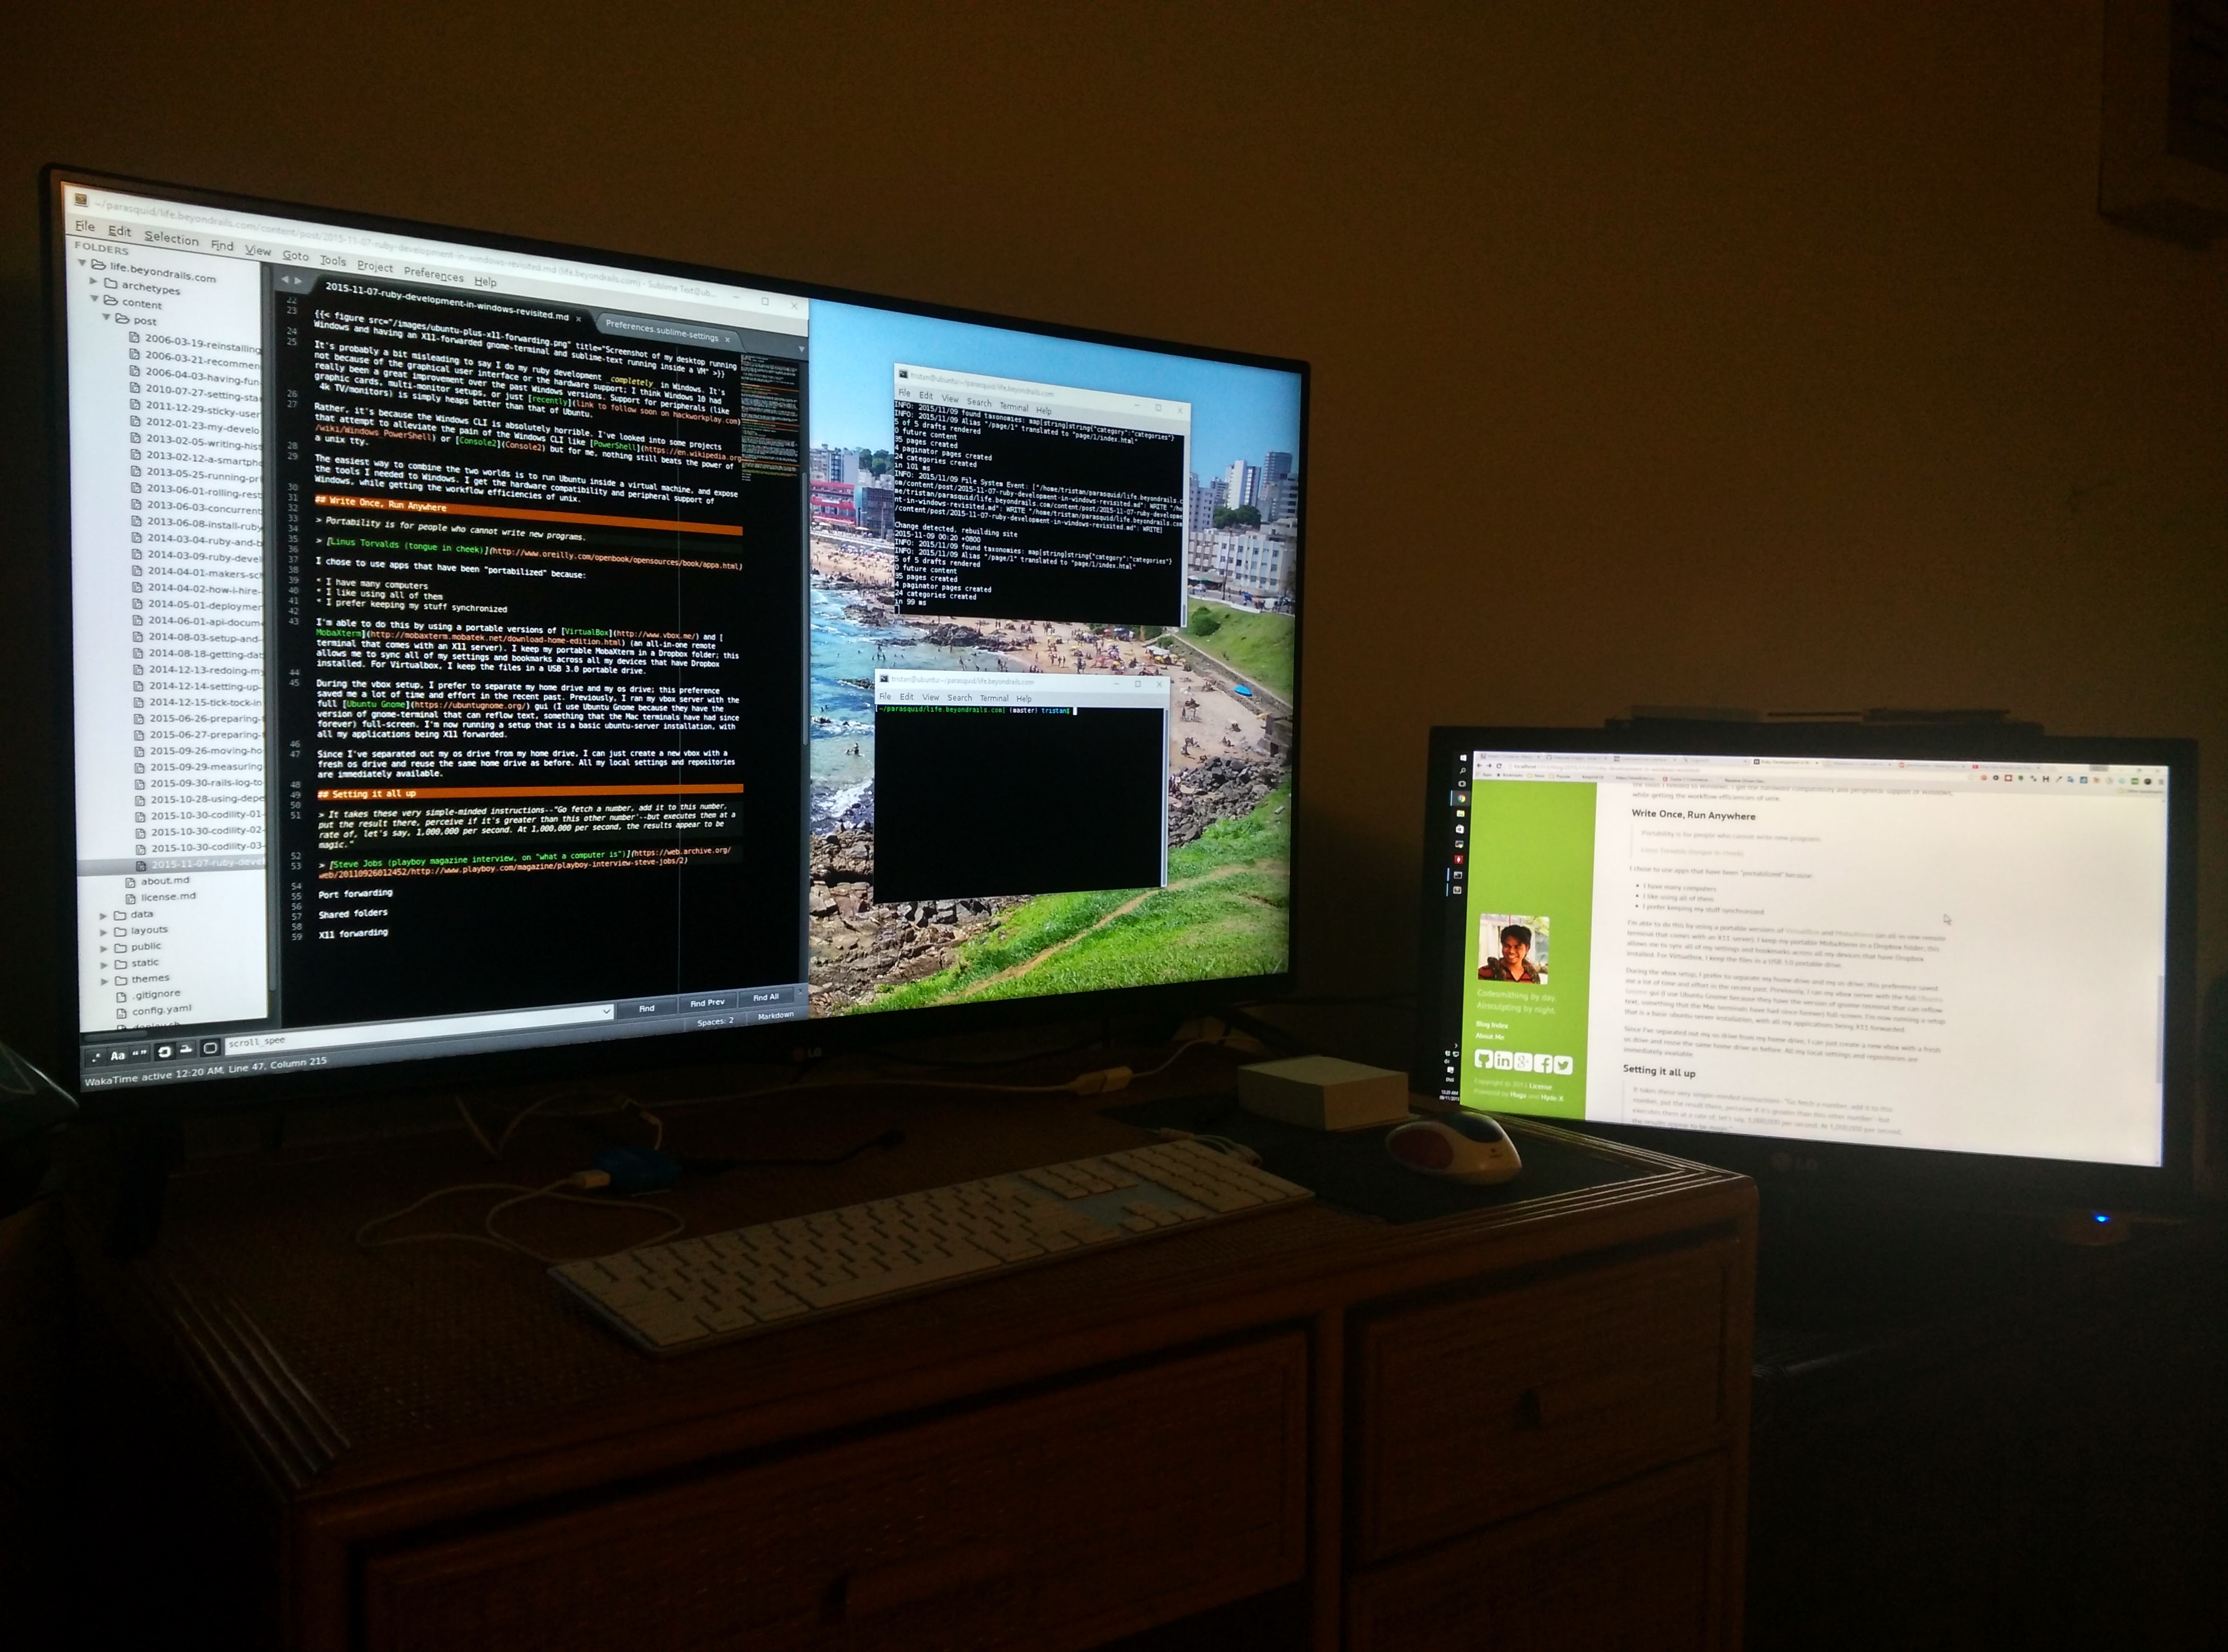
My home workstation: a 40" LG 4k display and a 1080p LG IPS display. The 1080p display is showing a webpage generated by a server running in the VM that is port forwarded to 1313. The 4k display is running sublime text and two instances of gnome-terminal. All three of these applications are using X11 forwarding.
Rather, it’s because the Windows CLI is absolutely horrible. I’ve looked into some projects that attempt to alleviate the pain of the Windows CLI like PowerShell or Console2 but for me, nothing still beats the power of a unix tty.
The easiest way to combine the two worlds is to run Ubuntu inside a virtual machine, and expose the tools I needed to Windows. I get the hardware compatibility and peripheral support of Windows, while getting the workflow efficiencies of unix.
Write Once, Run Anywhere
Portability is for people who cannot write new programs.
I chose to use apps that have been “portabilized” because:
- I have many computers
- I like using all of them
- I prefer keeping my stuff synchronized
I’m able to do this by using a portable versions of VirtualBox and MobaXterm (an all-in-one remote terminal that comes with an X11 server). I keep my portable MobaXterm in a Dropbox folder; this allows me to sync all of my settings and bookmarks across all my devices that have Dropbox installed. For Virtualbox, I keep the files in a USB 3.0 portable drive.
During the vbox setup, I prefer to separate my home drive and my os drive; this preference saved me a lot of time and effort in the recent past. Previously, I ran my vbox server with the full Ubuntu Gnome gui (I use Ubuntu Gnome because they have the version of gnome-terminal that can reflow text, something that the Mac terminals have had since forever) full-screen. I’m now running a setup that is a basic ubuntu-server installation, with all my applications being X11 forwarded.
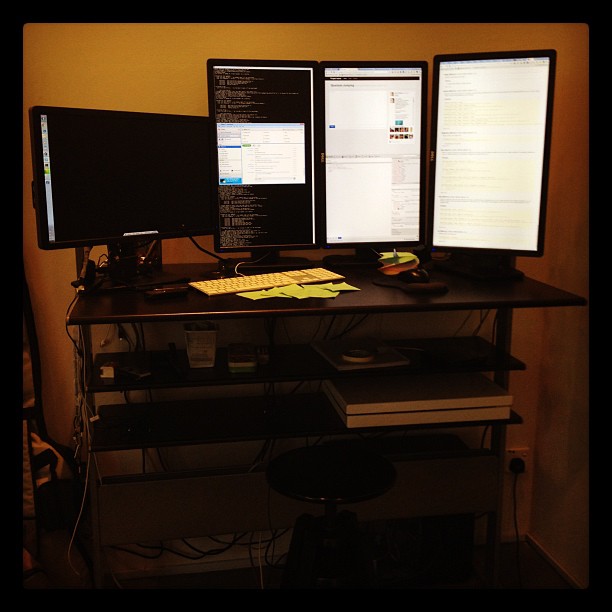
My old office Workstation. I used to run the Ubuntu Desktop Environment as a full-screen application in Windows.
Since I’ve separated out my os drive from my home drive, I can just create a new vbox with a fresh os drive and reuse the same home drive as before. All my local settings and repositories are immediately available.
Setting it all up
It takes these very simple-minded instructions–“Go fetch a number, add it to this number, put the result there, perceive if it’s greater than this other number’–but executes them at a rate of, let’s say, 1,000,000 per second. At 1,000,000 per second, the results appear to be magic.”
Steve Jobs (playboy magazine interview, on “what a computer is”)
I’m using a portable version of VirtualBox and if you’ve made any VMs with VirtualBox before, it’s mostly the same experience. Currently I’m running Ubuntu Server 15.10 but there’s nothing preventing you from running a full blown Ubuntu with all the Desktop Environment bells and whistles. I just prefer a more clean and precise installation that allows me to choose the exact packages I want and need.
VM Creation
I separated out my home and os by installing them on different virtual hard drives. I gave the os disk some 40GB of space that has fixed allocation, and the home partition 80GB of space that has dynamic allocation. I figured that since the OS would be used a lot more than the user owned files, the tiny bit of extra performance I’ll get from pre-allocating the disk space on the physical hard drive would be worth it.
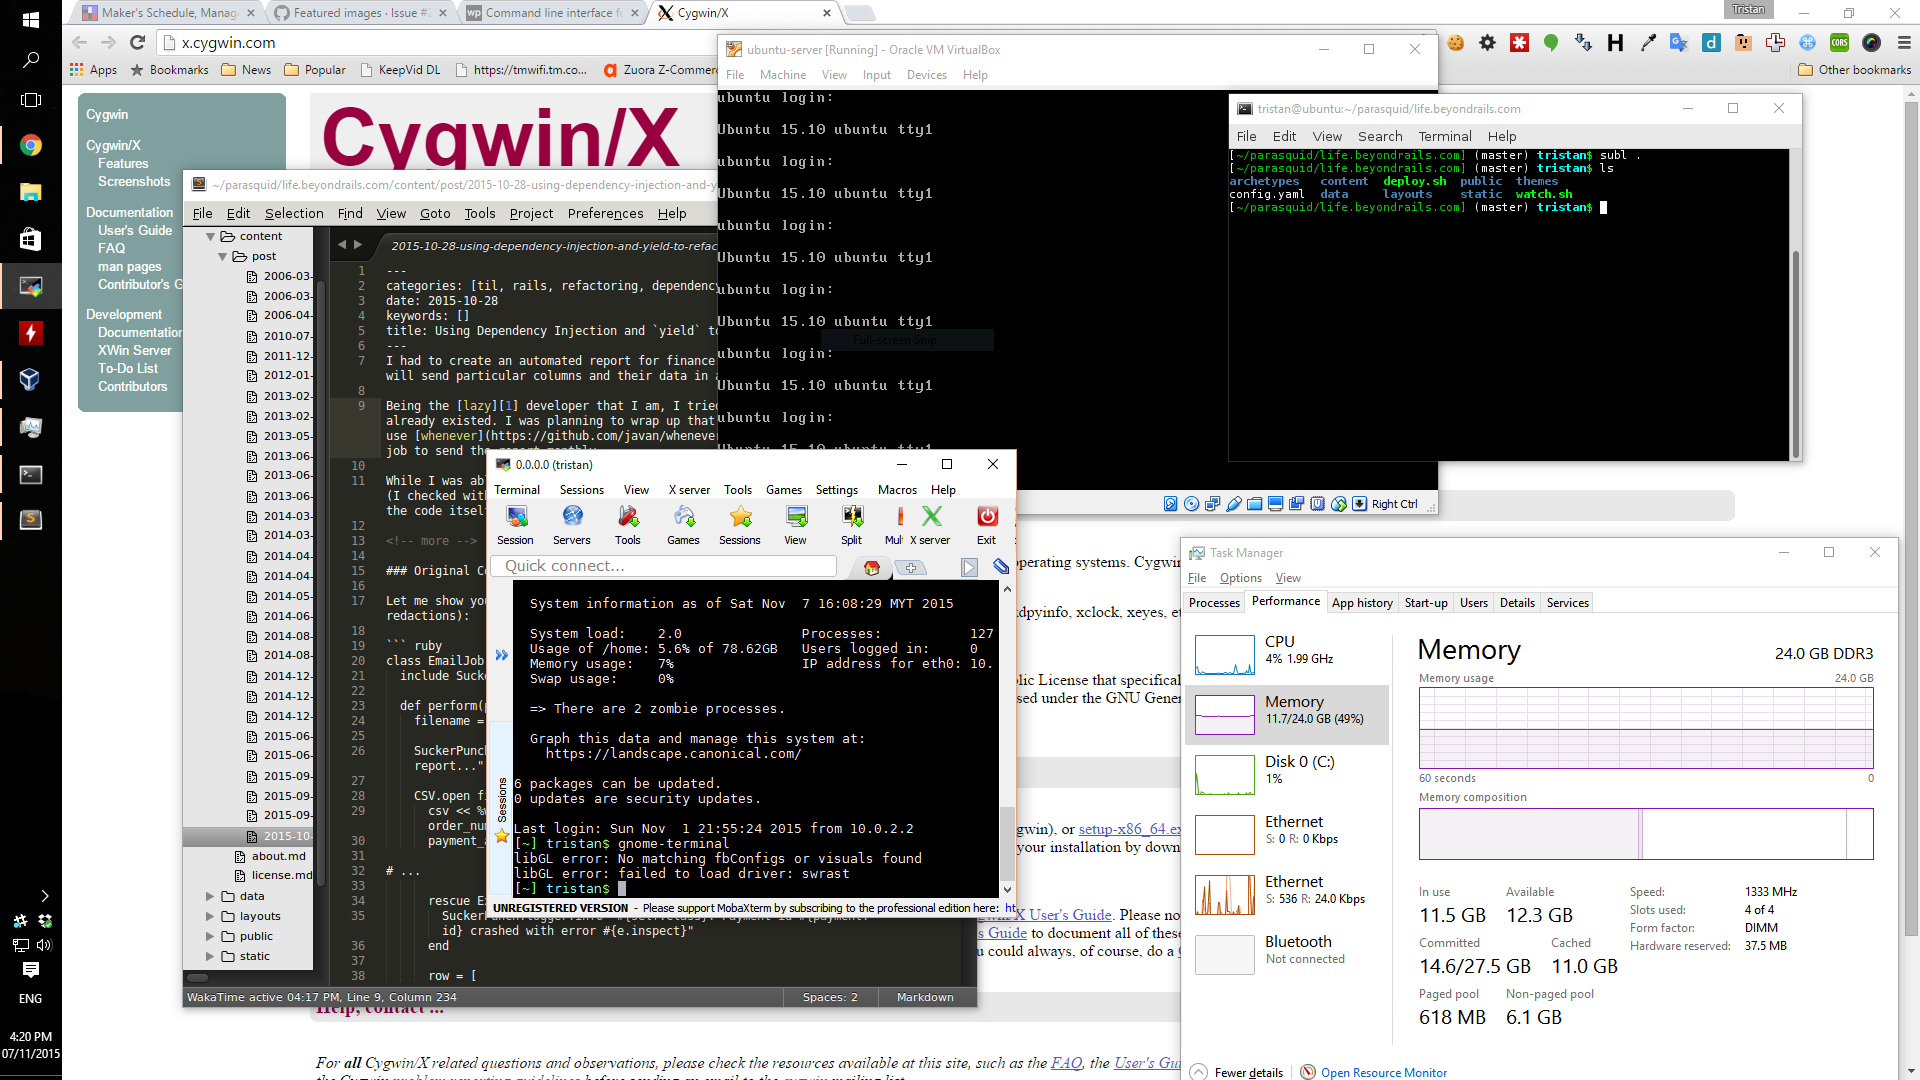
Screenshot of my desktop running Windows and having an X11-forwarded gnome-terminal and sublime-text running inside a VM
I also gave the VM a ram size of 8GB. Since I’ll be installing ubuntu-server on the VM, 8GB is more than enough memory for my needs (since there’s no GUI or Desktop Environment). So far I haven’t had to increase the memory requirements, and I can comfortably run the VM alongside huge Excel sheets and some Steam games.
If I do need to increase the memory size, it’s just a matter of:
- shutting the VM down
- changing the memory size in the settings
- booting the VM back up
Clipboard
I set the clipboard sharing to be Bidirectional; that allows me to copy and paste to the VM and to the host seamlessly, as though they’re all just normal native applications on the host. I disable Drag’n’Drop though; I never really found much use for it.
Port forwarding
As a web (and Ruby on Rails) developer I use custom ports to run my webservers to preview my work. Common ports I use are 3000 (rails), 1313 (hugo), and 22 (SSH). It’s very easy to add more port forwards and better still, it’s almost instantaneous. There really isn’t much issue if you don’t setup your port forwards at this point; you can always add more later.
If you’re running a full Desktop Environment, you can get away with not port-forwarding 22 to the host. However, since I’ll be using X11 forwarding I need to have 22 port-forwarded.
Shared folders
I like prefer my Dropbox folder to the VM instead of my full Documents folder. I feel that since I’m sharing files between two local machines anyway, I might as well share the files to all of my machines (through Dropbox).
VirtualBox makes it really easy to share folders between the host and the client.
Add yourself to the vboxsf group to be able to access the shared folder without haveing superuser privileges:
sudo adduser `whoami` vboxsfThen, you can either logout and login back again (which is annoying) or just force the OS to recognize the new members of the group:
sudo newgrp vboxsfYou now have access to the shared folder in /media/sf_Dropbox/ (if you followed my preference of sharing the Dropbox folder; otherwise the folder name will be different). I like doing a symlink of that shared folder to my home:
sudo ln -s /media/sf_Dropbox/ ./That just makes everything easier since I have the same folder structure in my Dell XPS 13 (2015) that almost exclusively runs on Ubuntu Gnome
Packages
Chosen for minimalist reasons (except for gnome-terminal, which was chosen because it does text reflow)
- xvfb
- gnome-terminal
- rox-filer
- eog (eye of gnome)
Additional quality of life packages * sublime-text * gnome-tweak-tool
X11 forwarding
Here comes the magic where I get seamless interaction between the VM applications, and the host’s native applications. In a nutshell, I run an XServer in Windows (currently Cygwin, but XMing will also do) and have it display the application that’s running inside the VM.
Getting all the applications running would be a chore, so I turn to MobaXterm to provide me with almost everything I need to do this setup. Instead of getting PuTTY + XMing + configuration I just bookmark my SSH connection to the VM and that’s it.
Note that for this to work you’ll need to have the SSH port in your VM (22 in my case) forwarded to the host.
Caveats
Caveat emptor /ˌkævɛɑːt ˈɛmptɔr/ is Latin for “Let the buyer beware” (from caveat, “may he beware”, the subjunctive of cavere, “to beware” + emptor, “buyer”).
Although I’m very happy with the setup and have been using this setup for both my work and home workstations for years now, there are still a number of niggling issues that I haven’t quite resolved yet due to lack of time or lack of knowledge.
Response lag
Depending on the application,